Applicable models: CL4/6NX
Use the SATO RF Analyze function after configuring an RFID tag according to the Inlay Configuration Guide in order to adjust the read/write conditions in accordance with the RFID tags you are using.
This function automatically moves the product's RFID standard antenna to measure RFID tags, and determine the conditions to consistently write and read them. The results of the measurement are immediately applied to the product. Furthermore, by saving them as an RFID tag model, you can easily access the settings when using the same RFID tags.
 |
• The length from the leading edge of the tag to the inlay should be 15 mm (0.59") or more.
• The tag length should be 42 mm (1.65") or more (including liner) to execute SATO RF Analyze.
• Keep the setting value of the radio power level 24 dBm or less.
|
Setting Measurement Conditions
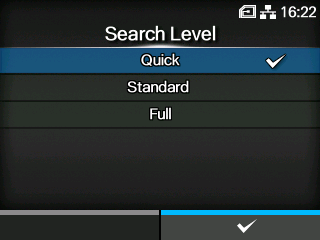
Before executing measurement, set the search level, writing/reading power (UHF modules only), and name for saving as an RFID tag model.
Set the writing/reading power according to the Inlay Configuration Guide. For details, access the following URL:
To use inlays that are not in the Inlay Configuration Guide, use the initial values.
|
1.
|
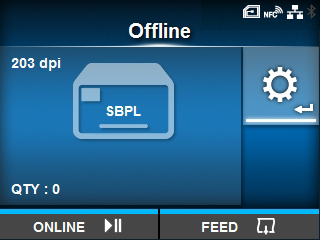
When the product is in Online mode, press the  button on the operator panel to change to Offline mode. button on the operator panel to change to Offline mode.
|
|
2.
|
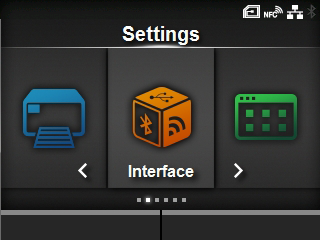
Press the  button to show the [Settings] menu. button to show the [Settings] menu.
|
|
8.
|
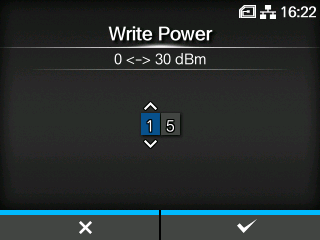
Set the writing power, and then press the  button to save the setting. button to save the setting.
|
|
• Keep the setting value 24 dBm or less. |
|
10.
|
Set the reading power, and then press the button to save the setting.
|
|
• Keep the setting value 24 dBm or less. |
|
13.
|
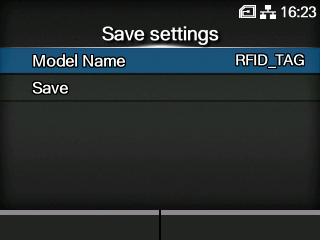
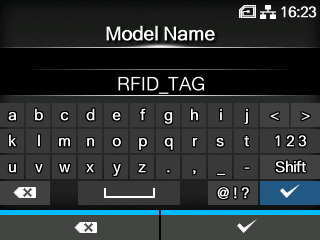
Edit the name of the model under which to save the measurement results, and then press the button.
|
You can enter a maximum of 32 characters. You can use alphabet (capital and small letters), numbers and symbols.
|
• If you save them without inputting a model name, the model name will be saved as the default, "RFID_TAG".
• You cannot input a "." at the beginning of the name.
|
Executing SATO RF Analyze
Execute SATO RF Analyze using the measurement conditions that you set.
|
14.
|
Set the RFID tag to the product.
|
|
15.
|
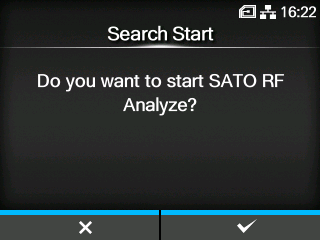
Select [Search Start] on the [SATO RF Analyze] screen, and then press the button.
|
|
16.
|
Press the button on the confirmation screen.
|
Measurement starts, and the state of the measurement appears on the screen.
|
17.
|
When the measurement is complete and [FINISH] is displayed, press the  button. button.
|
|
18.
|
To save the measurement results as an RFID tag model, press the button. To not save them, press the button.
|

|
• If a measurement fails, a message to adjust the [Write Power] and [Read Power] values by +1 dBm or -1 dBm, according to the cause, appears. Press the button to execute adjustment, and then do the measurement again.
When the [Write Power] and [Read Power] settings reach the maximum or minimum values, the message prompting you to execute adjustments no longer appears.
• Do not open the top cover while measuring. If you open the top cover before you close the message asking you whether to save the settings, you will need to do the measurement again.
• Do not send a DC2 command to the product while measuring. If the radio power setting or reset command is received, the measurement will not finish correctly.
• Do not do more than 10 measurements consecutively. If you need to do 11 or more measurements, allow the RFID module to cool before doing so.
• If an error occurs while measuring and the measurement is interrupted, the display returns to the confirmation screen regardless of the error type.
|
[02-02311-EN]